Stand-Bot for Slack helps teams run asynchronous stand-up meetings in Stride Slack & create daily Jira status reports.
To get started with our app and begin running stand-ups in Slack, please take a look at our documentation.
1. Stand-bot for Slack
Installation
- Visit http://softwaredevtools.com/stand-bot/ and click on the "Add to Slack" button.
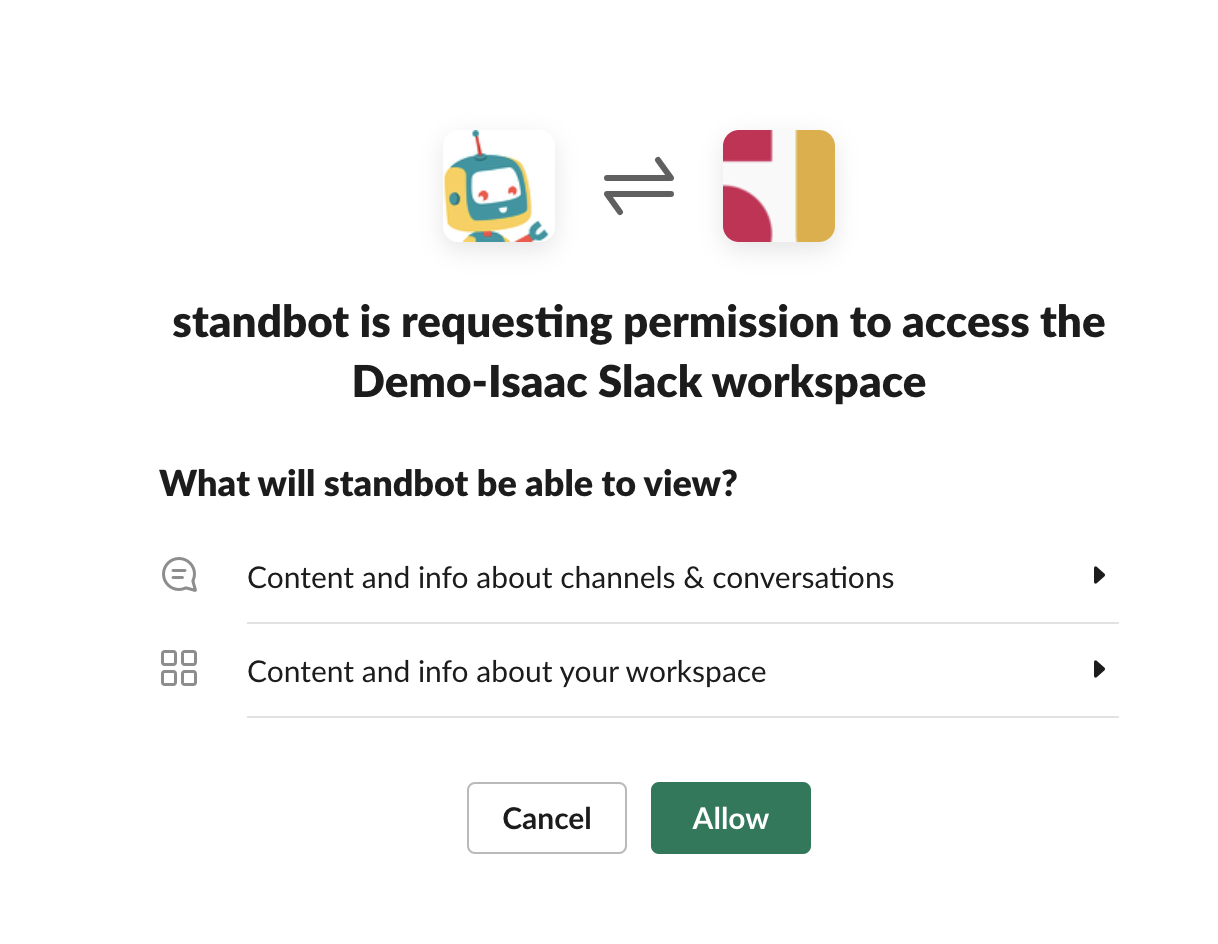
- Click on "Authorize" to allow Stand-Bot to join your Slack workspace.

- Add Stand-Bot to a channel and you're ready to go!
Setting up a stand-up
Once you've added Stand-Bot to your Slack workspace, you can go ahead and create a stand-up.
- Go to the channel in which you want to setup up a stand-up and add Stand-bot.
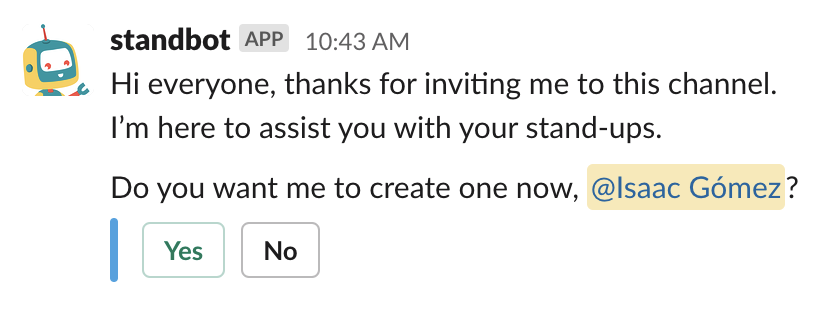
- He'll introduce itself and ask you if you want to configure a stand-up. Click on "Yes".
.png?version=1&modificationDate=1510010073818&cacheVersion=1&api=v2&height=250)
- Stand-bot will ask you for the time of the stand-up. He'll create the stand-up in your timezone.
.png?version=1&modificationDate=1510010263621&cacheVersion=1&api=v2)
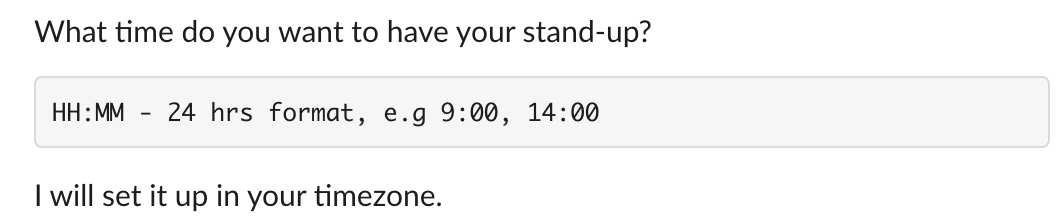
- Input the time you want to have your stand-up.
.png?version=1&modificationDate=1510011489617&cacheVersion=1&api=v2)

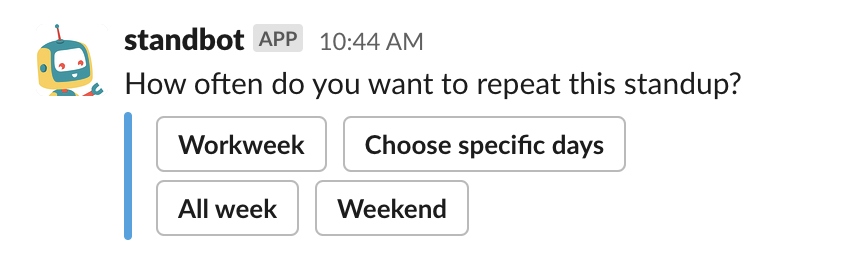
- Select the recurrence of your stand-up.
.png?version=1&modificationDate=1510011587222&cacheVersion=1&api=v2&height=250)
- Input the username of the team's Scrum Master or type "me" if it's you.
.png?version=1&modificationDate=1510011933335&cacheVersion=1&api=v2)

- If everything is okay with your configuration, click on "Yes".
.png?version=1&modificationDate=1510012041933&cacheVersion=1&api=v2&height=400)

- Once you confirm, you're stand-up will be ready!
.png?version=1&modificationDate=1510012071258&cacheVersion=1&api=v2)

Stand-bot will send a reminder to each member of the channel to send their status once it's stand-up time.
Commands
You can fin a list of Stand-bot's commands here.
Channel commands
Stand-bot responds to the following commands inside a Channel.

- .
@standbot setup | Create a stand-up for your channel. Set time and periodicity. |
@standbot info | See stand-up's details. |
@standbot status | Get a status report of the team. |
@standbot status @username | See a team member's status. |
@standbot blockers | Find out if your team has any blockers. |
@standbot blockers @username | Check if specific participants have impediments. |
@standbot skip @username | Skip yourself or a teammate from the stand-up. |
@standbot unskip @username | Disable a teammate’s skip mode. |
@standbot end-standup | Delete your recurring stand-up. |
nevermind | Stop an ongoing conversation with Stand-bot. |
DM commands
You can use the following commands through Direct Message with Stand-bot.
standup | Give Stand-bot your status. |
status | See your team's status report. |
edit | Make changes to your sent status. |
delete | Remove your sent status for the day. |
connect-jira | Link Slack workspace to Jira. |

connect-jira-user | Authenticate your Jira credentials. |
nevermind | Stop an ongoing conversation with Stand-bot. |
2. Jira integration
Installation
- Go to Stand-bot's listing on the Atlassian Marketplace and click on "Try it free".

You will know when installation is ready as Atlassian marketplace would display a success message at the button of the page.


Linking your Slack workspace to your Jira instance
- Once you've installed the app on your Jira instance, go to "Settings"'My Apps' in the top menu.

- Click on "Add-ons".

- Go to "Manage add-ons".


- On the left menu click on 'Manage Apps' where you will find the Stand-Bot listed.
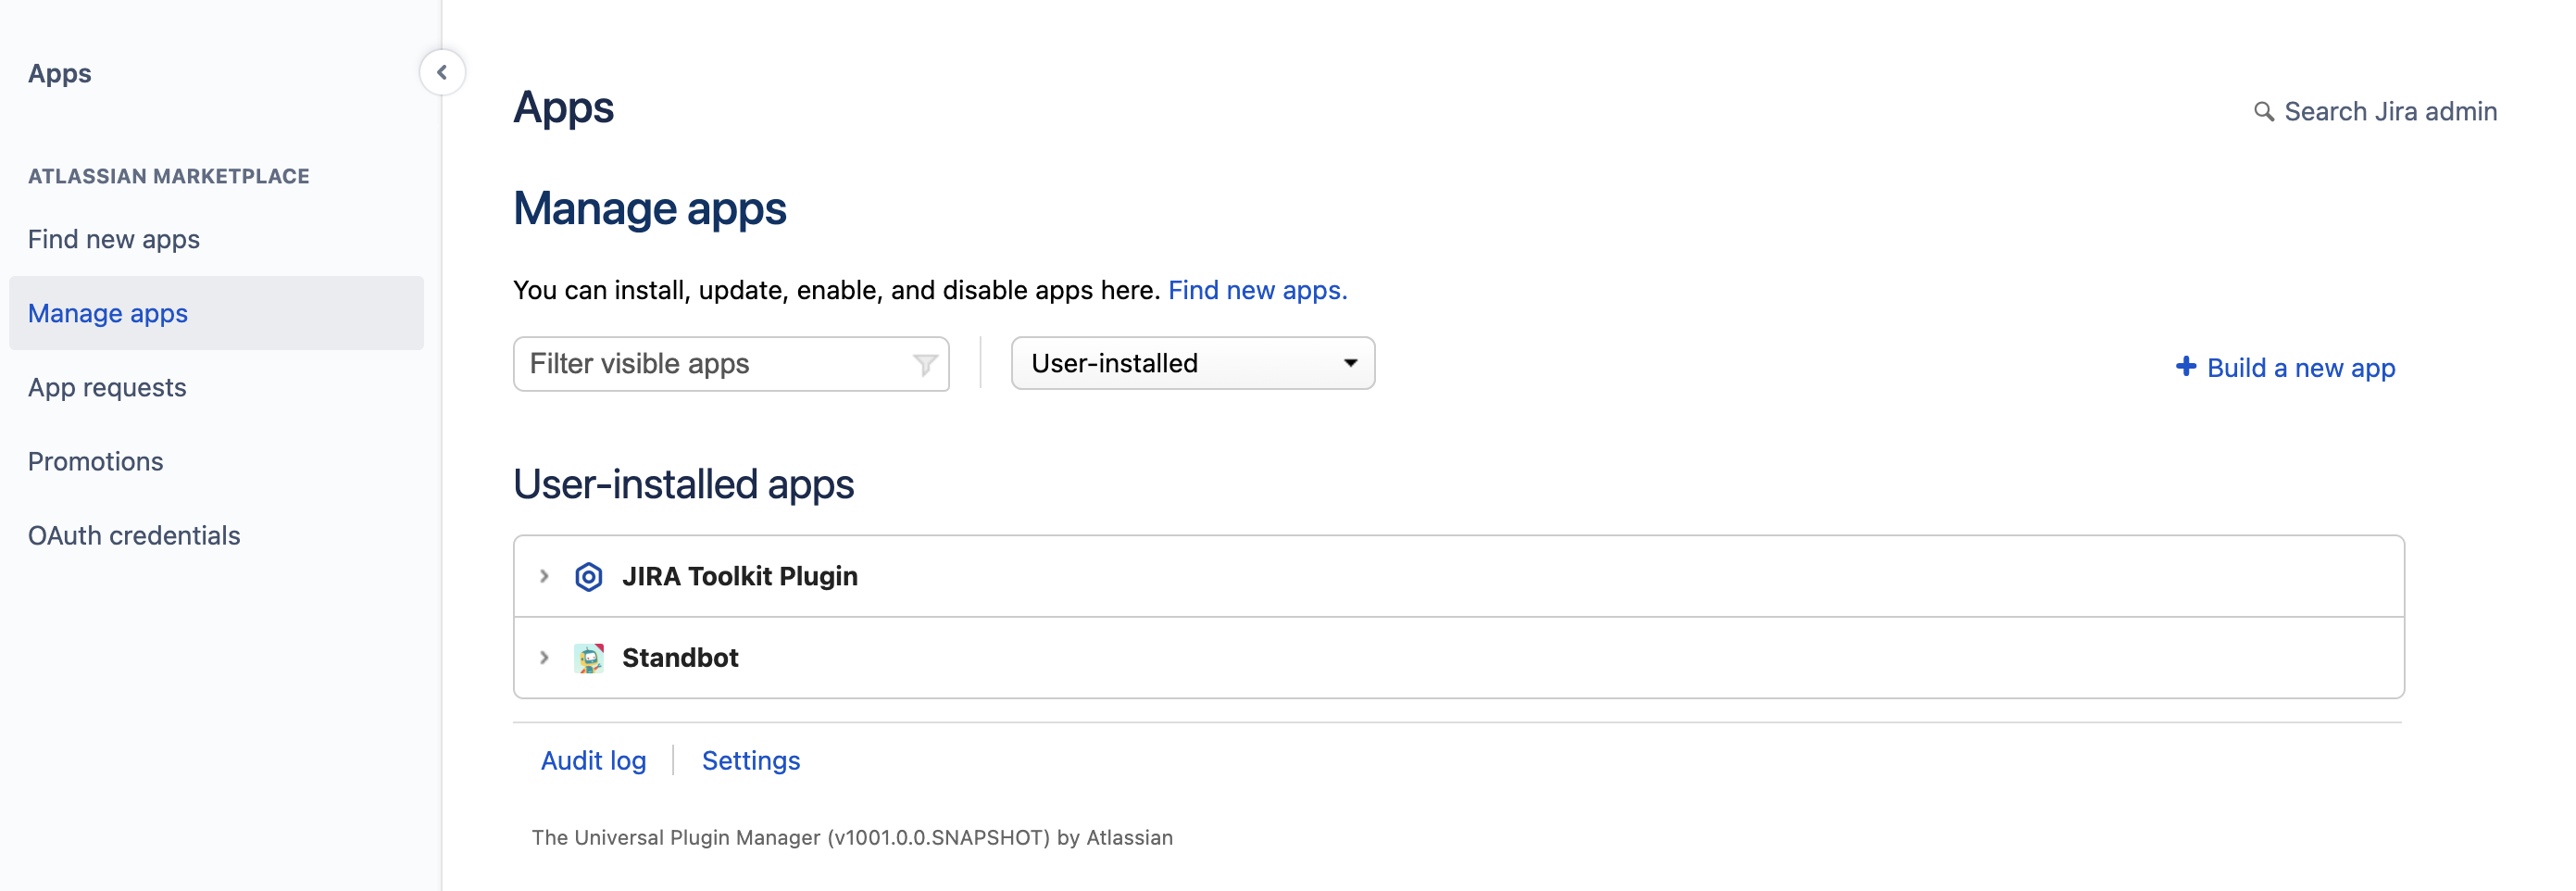
- Click on the Standbot Stand-Bot listed app to expand its details.
.png?version=1&modificationDate=1510005529025&cacheVersion=1&api=v2&height=400)
- Click on "Configure" the details, and then click on the 'Configure" button to link your Jira instance to your Slack workspace.


| Info |
|---|
It is recommended that you first install the Slack app in your workspace from the Standup Slack Directory before continue to the next steps. |
- After clicking on the 'Configure' button you'll be sent to the Verification Team page in which you must input the name of your Slack workspace and click on "Verify Team". This may take a few seconds, don't worry if it takes a bit.

Note: You should have Stand-bot already installed in your Slack workspace for this verification to work.
.png?version=1&modificationDate=1510006447547&cacheVersion=1&api=v2&height=400)
- If Right after the verification goes smoothly, you'll be taken to this screensee a confirmation message if the verification goes smoothly.
.png?version=1&modificationDate=1510006446497&cacheVersion=1&api=v2&height=400)
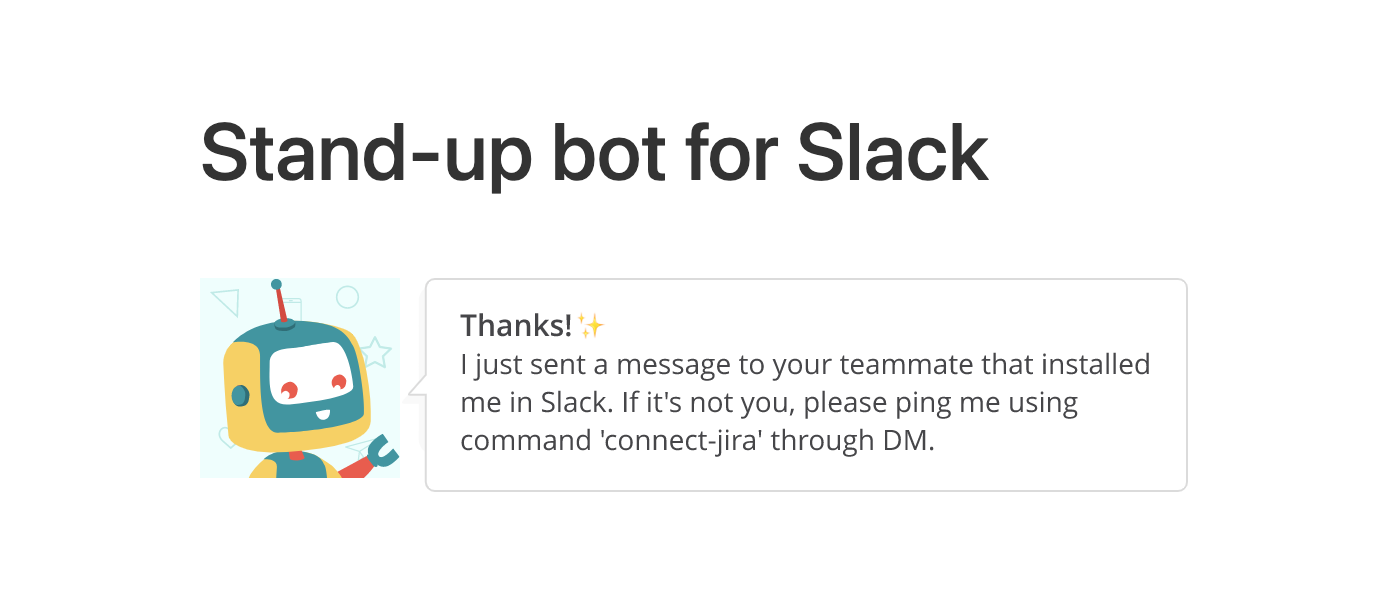
- If you installed Stand-bot on Slack, he will send you the following message through Direct Message:
.png?version=1&modificationDate=1510014081202&cacheVersion=1&api=v2)

Note: If someone else from your workspace installed Stand-Bot on Slack, use the command "connect-jira" through DM with Stand-bot. It will prompt the Jira connection flow.
- Click "Yes" to confirm that you want to link Jira with your Slack workspace.
.png?version=1&modificationDate=1510014080537&cacheVersion=1&api=v2)
- After clicking "Yes", Stand-bot will add a link that reads "Verify your team". Click on it.
.png?version=2&modificationDate=1510017890788&cacheVersion=1&api=v2)

- You will be taken to this screen in Jira.
.png?version=1&modificationDate=1510014079601&cacheVersion=1&api=v2&height=250)

- Click on "Confirm" to link Jira with your Slack workspace.
.png?version=1&modificationDate=1510096100908&cacheVersion=1&api=v2&height=250)

- Once you do, you'll be able to Match your Jira projects to your #channels in Slack.
Matching Jira projects to Slack channels
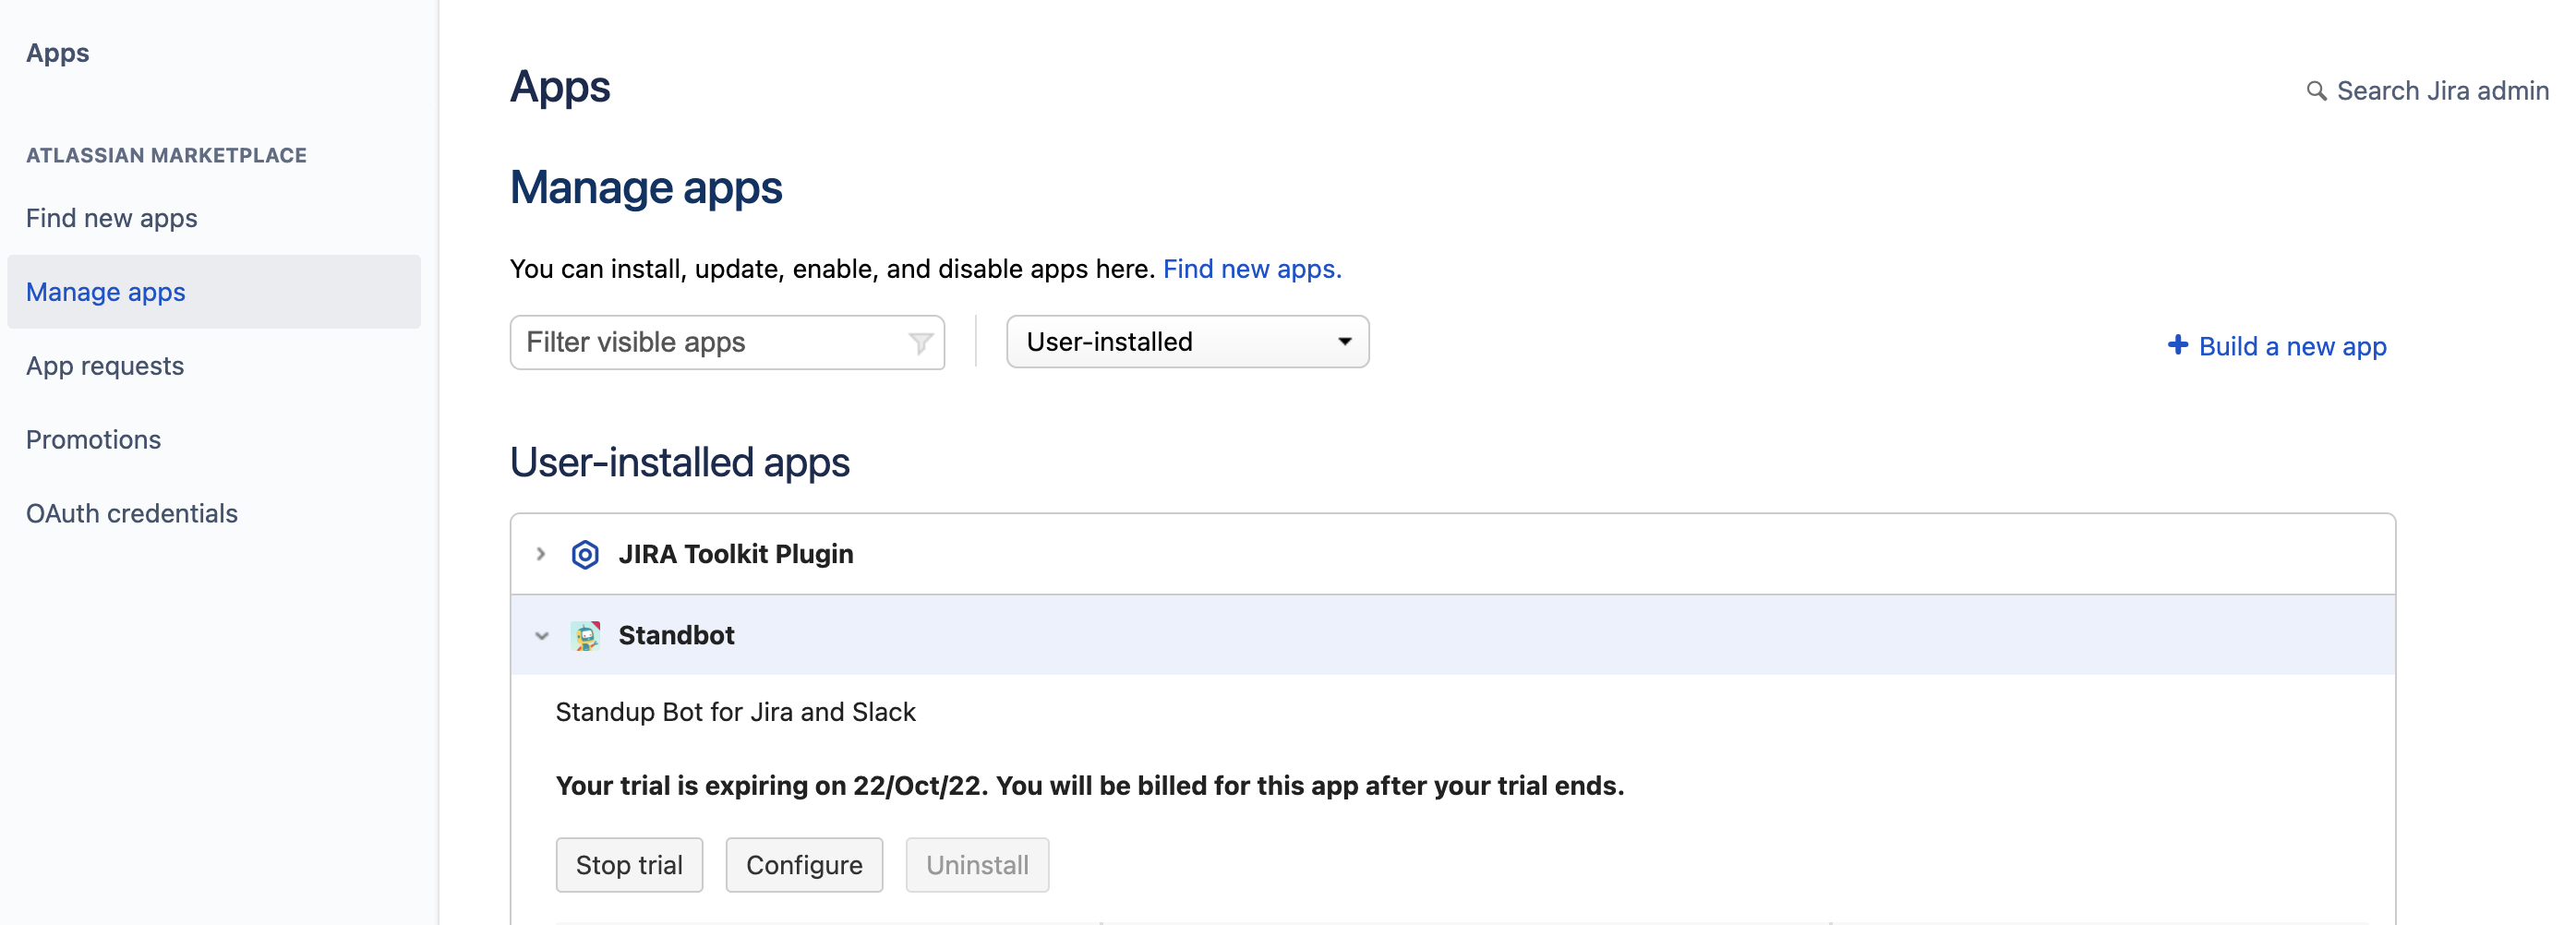
- Once you've linked Jira to your Slack workspace and created your standups in Slack channels, you 'll need to click on "Go to Settings" to link projects with stand-ups.
.png?version=1&modificationDate=1510096054719&cacheVersion=1&api=v2&height=250)
- Youcan go back to the 'Manage Apps' section, click on the Stand-Bot element, and click on the Configure button.
- This time, you'll be taken to this screen where you'll see all the channels in Slack with configured stand-ups.
%20channels.png?version=2&modificationDate=1510096514551&cacheVersion=1&api=v2&height=250)
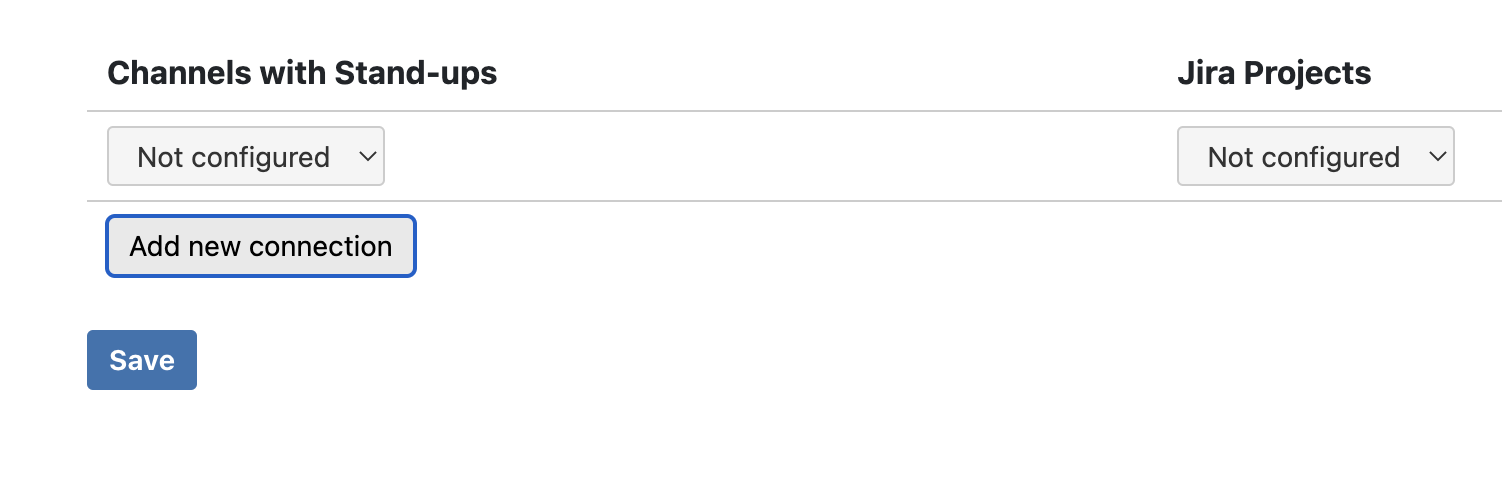
- To match a Project to a Channel, open the menu on the Channel you want to configure and select the Jira project you'd like to link to it.
%20channels%202.png?version=2&modificationDate=1510096513983&cacheVersion=1&api=v2&height=250)
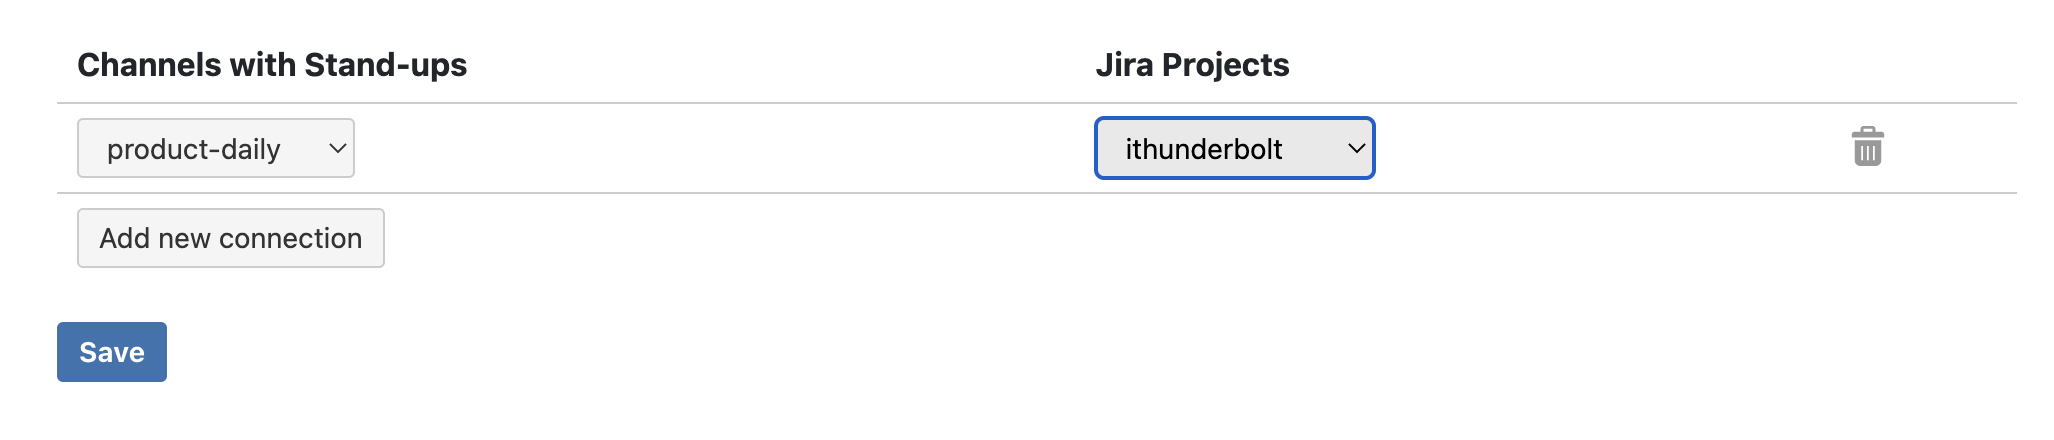
- Once you're done matching Projects to Channels click on "Save". You will now be able to save your Stand-up Reports insid inside your Jira projects and see your Jira tickets when giving your status.
%20channel%203.png?version=2&modificationDate=1510096513446&cacheVersion=1&api=v2&height=250)
%20channel%204.png?version=2&modificationDate=1510096512579&cacheVersion=1&api=v2&height=250)
Now you'll just need to get your team to verify their accounts.
Verifying teammates' Jira users
- Whenever you match a Jira Project to a Slack channel with a running stand-up, the bot will send this a message to the channel's members:

- They will need to click on "Yes". Once they do, they'll see a link that reads "Verify your Jira account".

- They need to click on it to be taken to Jira, where they will see the following screen:
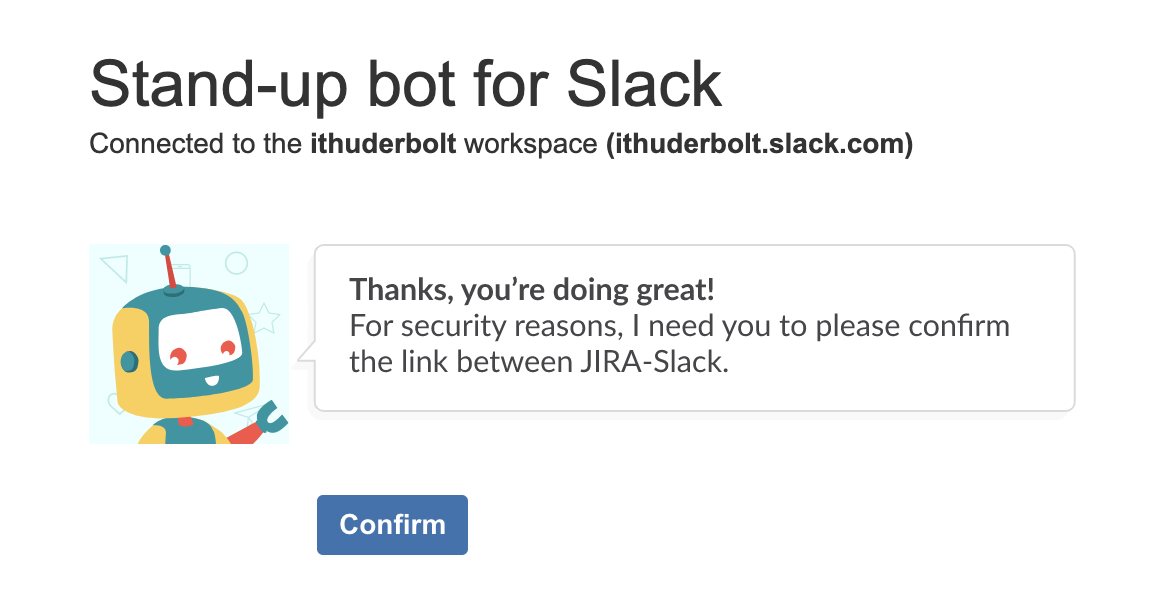
- They'll have to click on "Confirm".
- Once they do, they'll see the following screen and will be able to see their Jira tickets when giving their stand-up status.
%20jura%20user.png?version=1&modificationDate=1510099298783&cacheVersion=1&api=v2&height=250)

Seeing your Jira tickets when giving your status
Once you've verified your Jira user, you'll be able to see your Jira tickets during your stand-up.
- Wait for the bot to ask you for your status or use the "standup" command to send it.


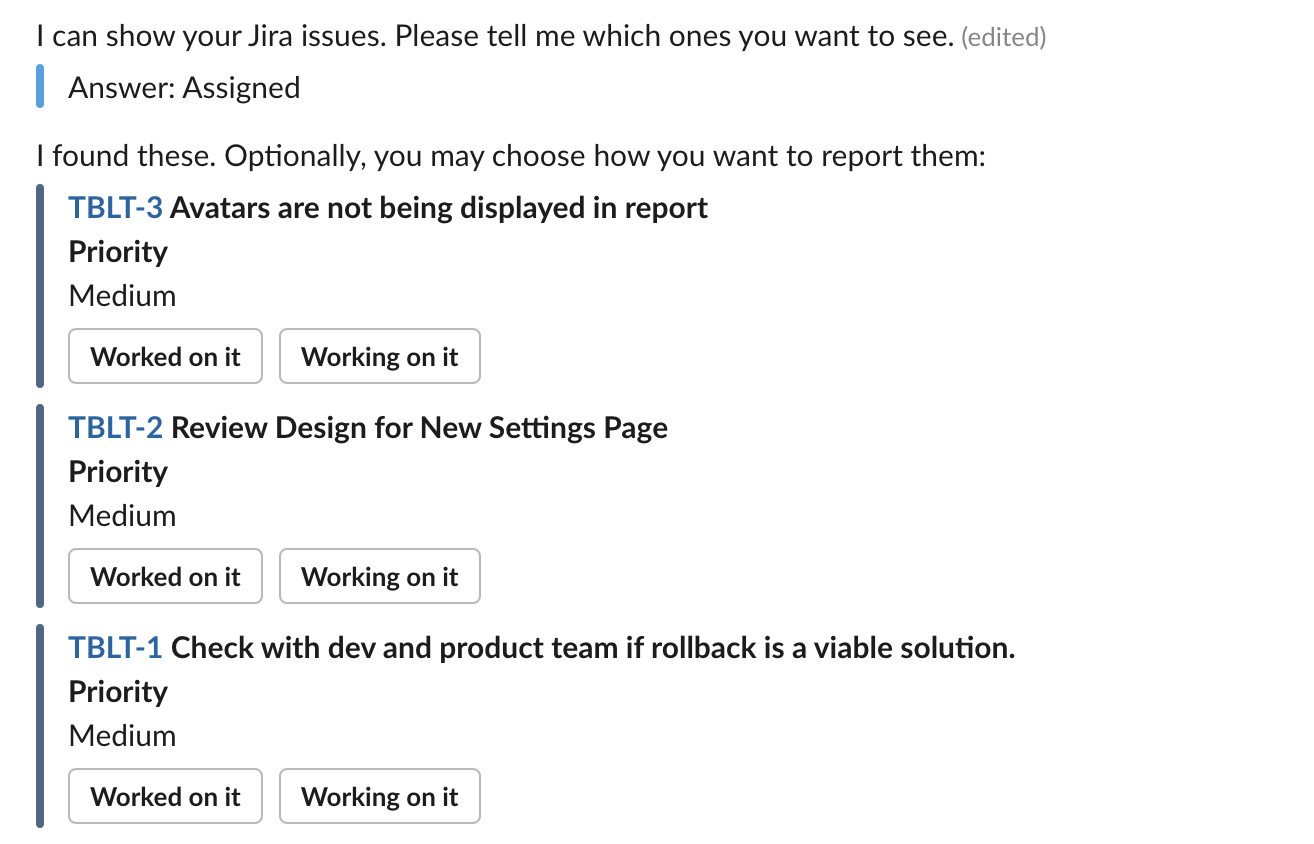
- Stand-Bot will show the option to see the Jira tickets you have "Assigned", those in "To Do", and in "Done".
%20copy.png?version=1&modificationDate=1510100666115&cacheVersion=1&api=v2)

- Select the type of Jira tickets you want to see first. Stand-Bot will display the 5 most recently updated in that category.
.png?version=1&modificationDate=1510100752308&cacheVersion=1&api=v2&height=400)
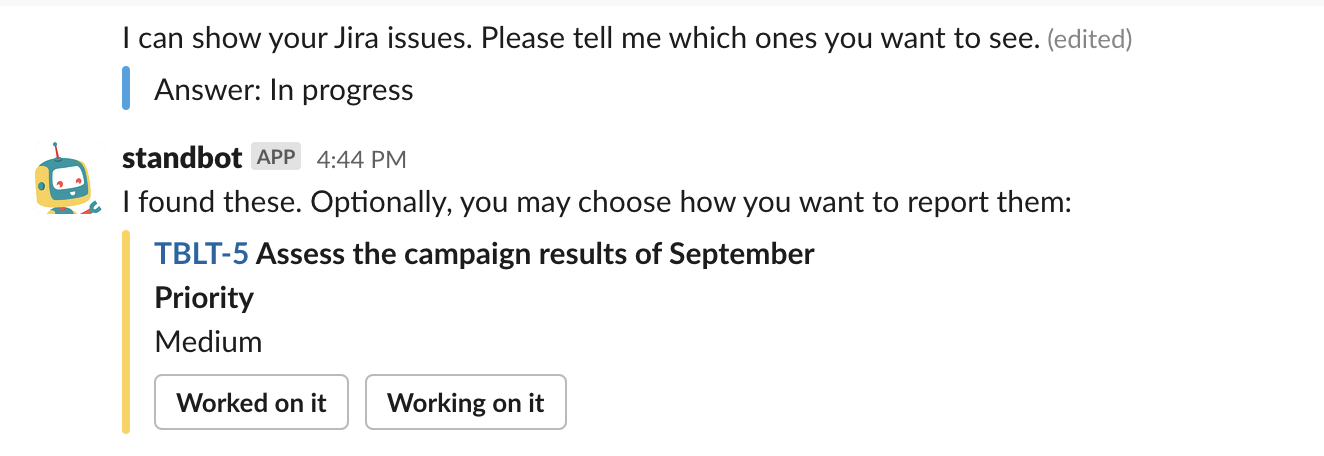
- You can take a look at another category by clicking on it.
.png?version=1&modificationDate=1510100822666&cacheVersion=1&api=v2&height=400)
.png?version=1&modificationDate=1510100860563&cacheVersion=1&api=v2&height=400)
- Once you've seen the categories that interest you, click on "None for now" to start typing your status.
.png?version=1&modificationDate=1510100927672&cacheVersion=1&api=v2&height=400)

.png?version=1&modificationDate=1510100926871&cacheVersion=1&api=v2)
Viewing your stand-up reports in Jira
Once you install the Jira add-on, you'll be able to view the history of your stand-up reports inside each project you linked to a channel.
- To do so, go to a Project you've linked to a stand-up and click on "Stand-up Reports" on the left sidebar menu.
.png?version=1&modificationDate=1510101219100&cacheVersion=1&api=v2)

- You will see your team's status for the day as team members send their status.
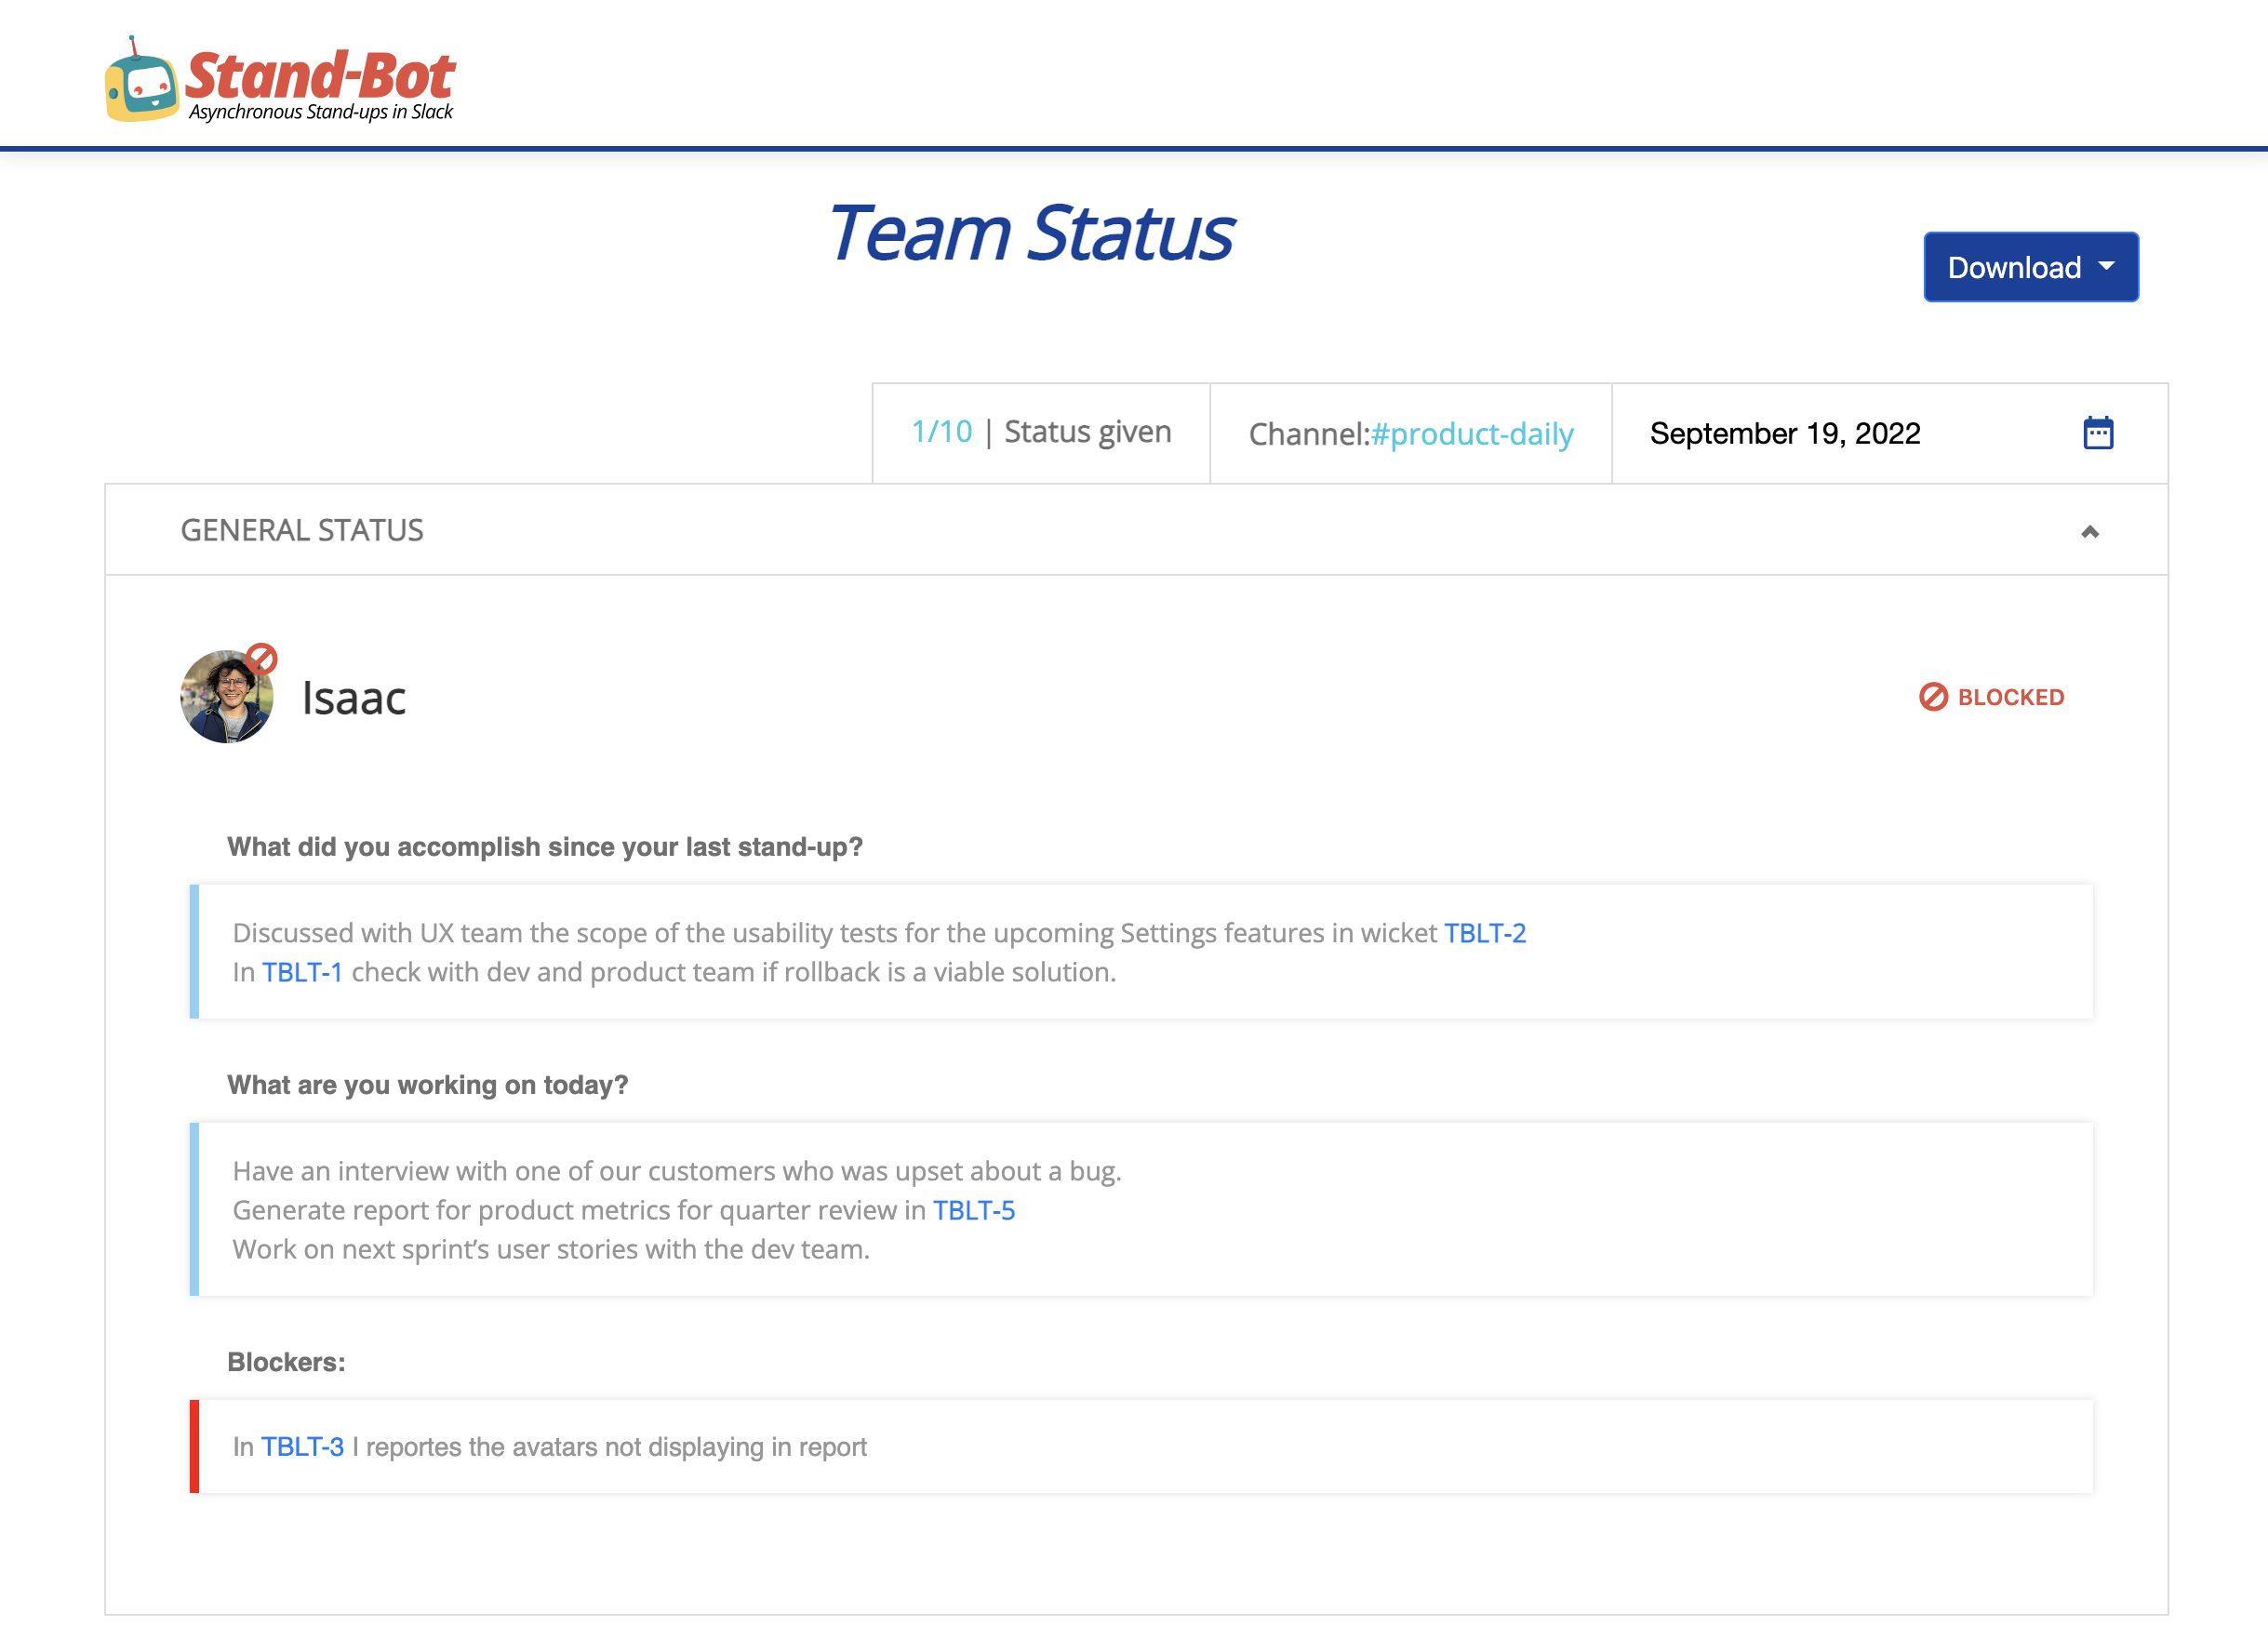
- You will also be able to navigate through your stand-up history to see past reports.
| Panel | |
|---|---|
On this page:
|
Related pages
| Filter by label (Content by label) | ||||||||||||||
|---|---|---|---|---|---|---|---|---|---|---|---|---|---|---|
|