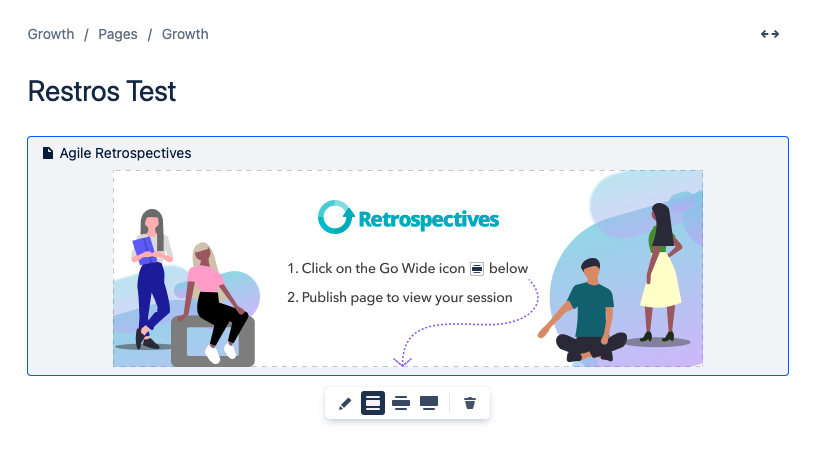
Agile Retrospectives for Confluence helps teams run retrospective sessions in an interactive and engaging way.
Team members can easily input their ideas simultaneously to recap the sprint, discuss topics, vote for the most important ones and interactively assign action items to team members. At the end of the session, you get an easy to digest summary that lets you quickly sort the results and keep track of the progress on the action items.
To get started with our app and begin with the retrospective session, please take a look at our documentation.
1. Adding the macro to a Confluence page
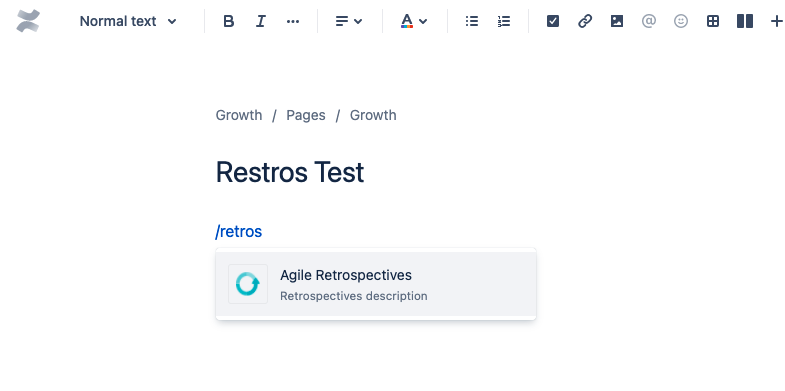
Type "/" + "Agile" or "Retrospectives" and then select the option Agile Retrospectives for Confluence.
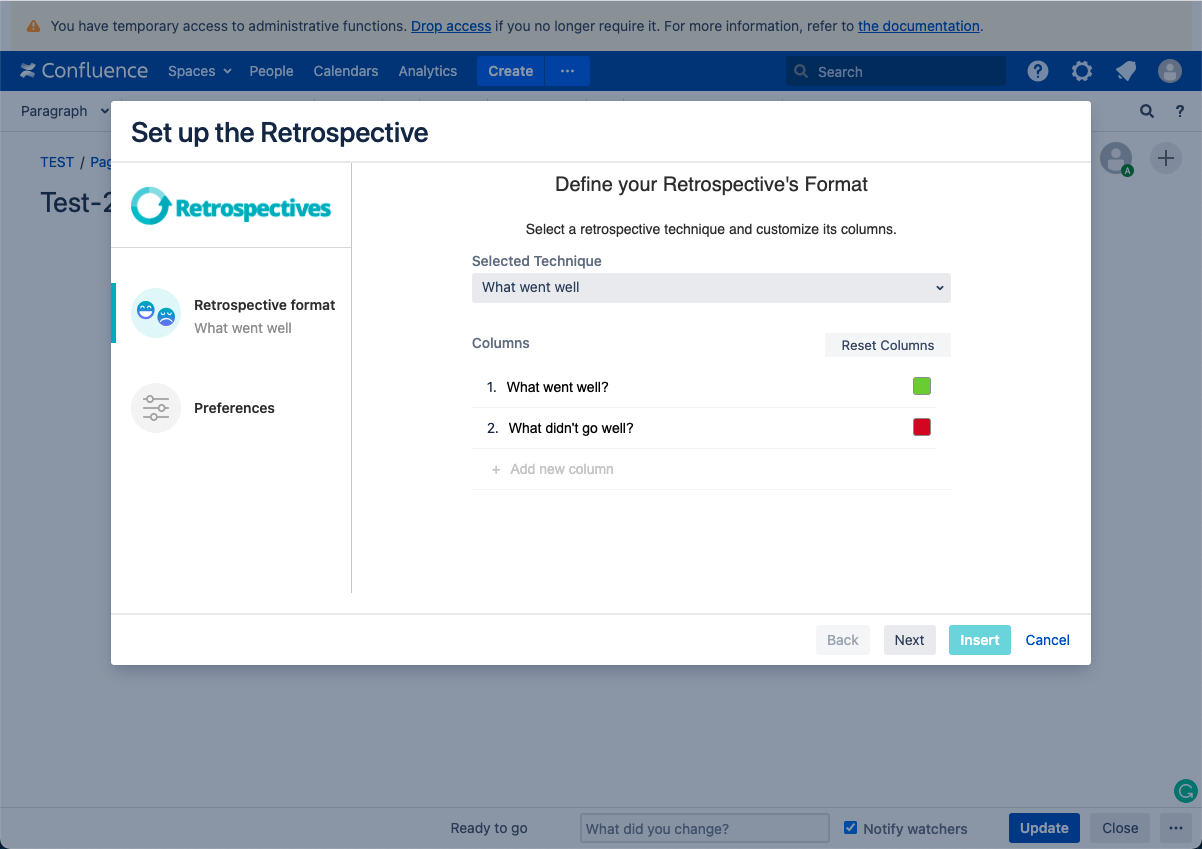
The Settings modal will open and you will be able to configure your session's settings.
| Panel | |
|---|---|
On this page:
|
2. Setting up the format of the session
Once the macro is added to your Confluence page, a Settings modal will be displayed. On its first tab you will be able to define your retrospective's format by naming the columns you'll use in the session.
Editing and deleting column names
The default format uses 2 columns:
What went well?
What went wrong?
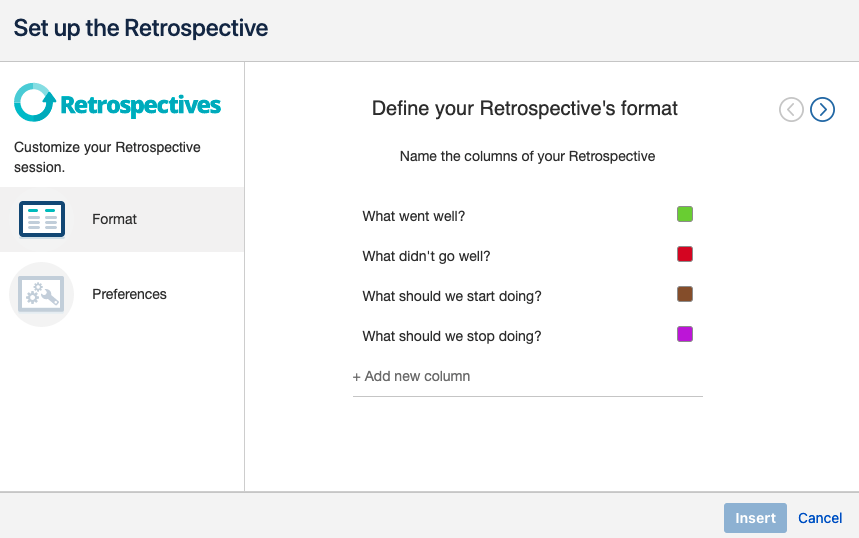
If you want to use a different retrospective technique during your session, you can edit the column names by hovering over them and clicking on the pencil icon. You will be able to type a new name for the column.
You can also delete columns by hovering over them and clicking on the trash can icon.
Adding new columns
If you want to run retrospectives using techniques such as Mad, Sad, Glad; Start, Stop, Continue; or 4 L's you can do it by adding more columns. To do this, type the name of your column on the third row and hit 'enter'.
You will be able to name up to 4 columns, to use the retrospective technique that works best for your team!
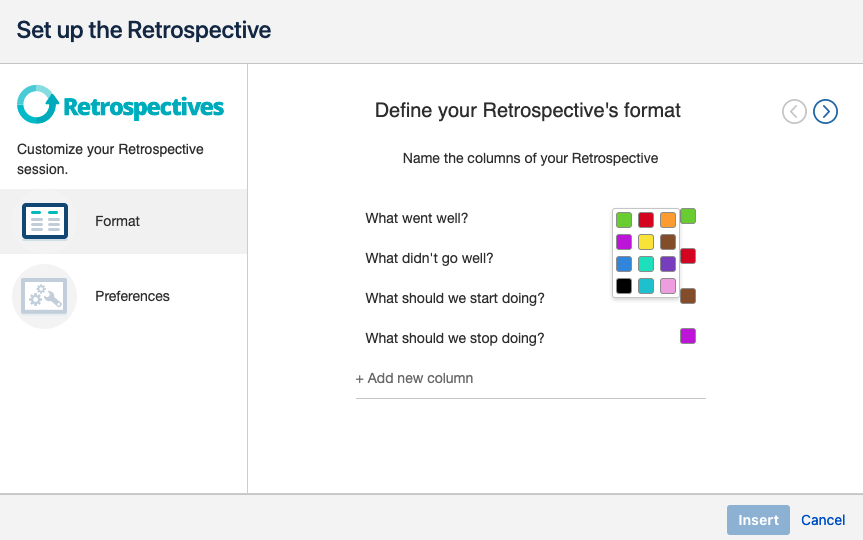
Changing columns' color
The default columns have the green and red color pre-selected. As you add new columns, a random color will be assigned to each one.
This color can be changed to resemble the column's theme (ie. green, red, and yellow for the Start, Stop, Continue technique) by clicking on the square next to each column and selecting the color you'd prefer.
3. Setting up the voting and visibility preferences
Once you're done defining the format for the retrospective, you can move on to the next Settings tab by clicking on the right arrow located on the top right corner of the modal.
Defining the number of votes per participant
On the Preferences tab you'll be able to define how many votes each player will have. The default mode is "Unlimited" which means participants will be able to vote as many times as they want.

If you want to set a limit of votes for participants, you can unselect the "Unlimited" option and input the number of votes you want to have.

For instance, in this example each participant would be able to vote 10 times.
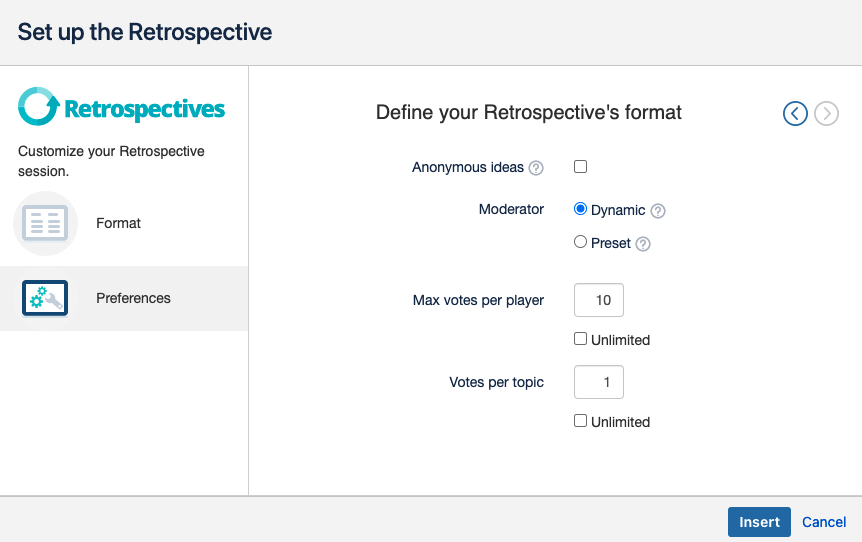
Defining the total number of times a user can vote for a topic
"Votes per topic" lets you define the number of times each player will be able to vote for a single topic. The default mode is "1", which means players would be able to vote only once per topic.

You can always set a different number or select the "Unlimited" option if you want to enable users to vote as many times as they want for a particular topic.

Now, take a look at the following example:

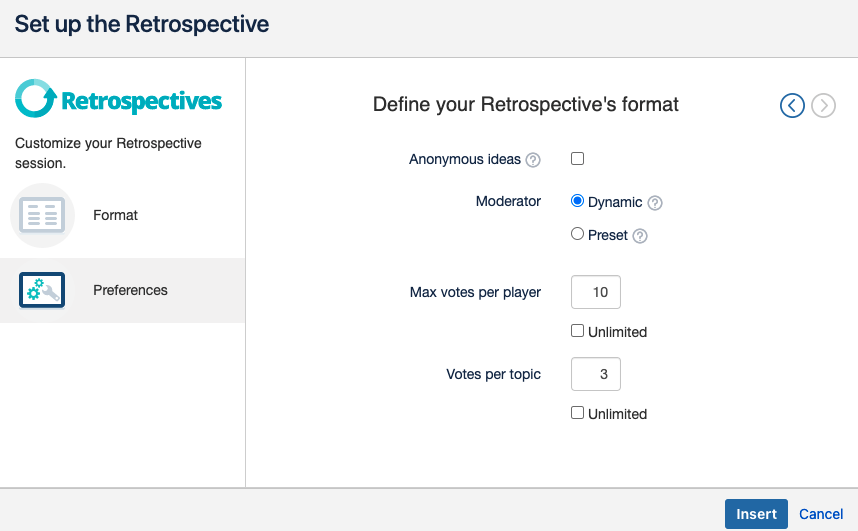
As you can see, "Max votes per player" is set to 10 and "Votes per topic" is set to 3. This means that participants will have 10 votes in total, but will only be able to vote 3 times for a single topic.
Choosing between a normal session and an anonymous one
The Preferences tab also gives you the option to run an Anonymous retrospective.
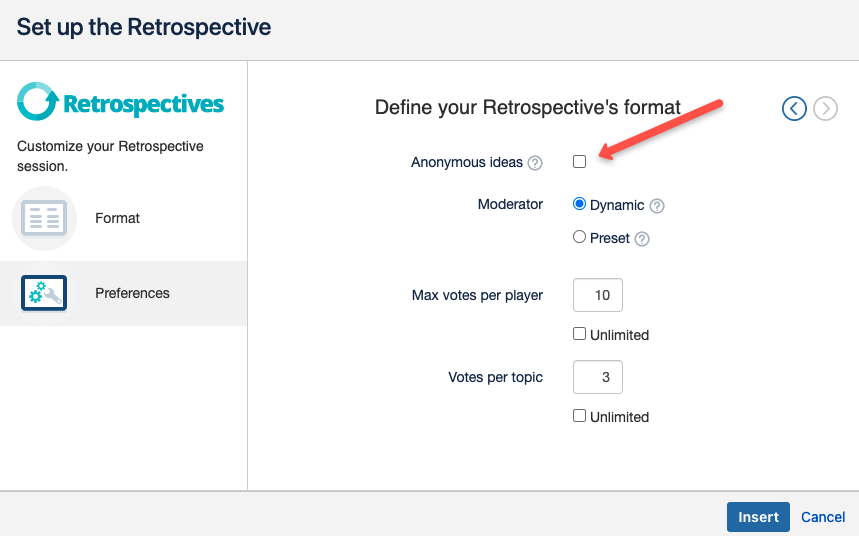
The default mode for this option is to be unselected. If you leave it this way, you will run a normal retro in which the avatar of each participant will be shown on the ideas she inputs.

If you select the Anonymous ideas mode, you won't be able to tell which participant wrote each idea.


Saving your settings configuration
Once you're done with the setup, click on the "Insert" button on the right lower corner of the modal.


You will see a placeholder on your Confluence page.

Click "Publish" to be taken to the retrospective.

If you wish to edit the Settings of your session, just return to the page's edit mode, click on the placeholder and select "Edit".


The Settings modal will re-open.


Bear in mind you can only edit your session's settings before you reach the "Think" step of the retrospective. Once you've reached this step, you won't be able to make changes to your settings. To do so, you will need to delete the current placeholder and add a new macro to the page to start the configuration from scratch.

4. Moderator permissions and "I'm Ready/Next" buttons' functionality
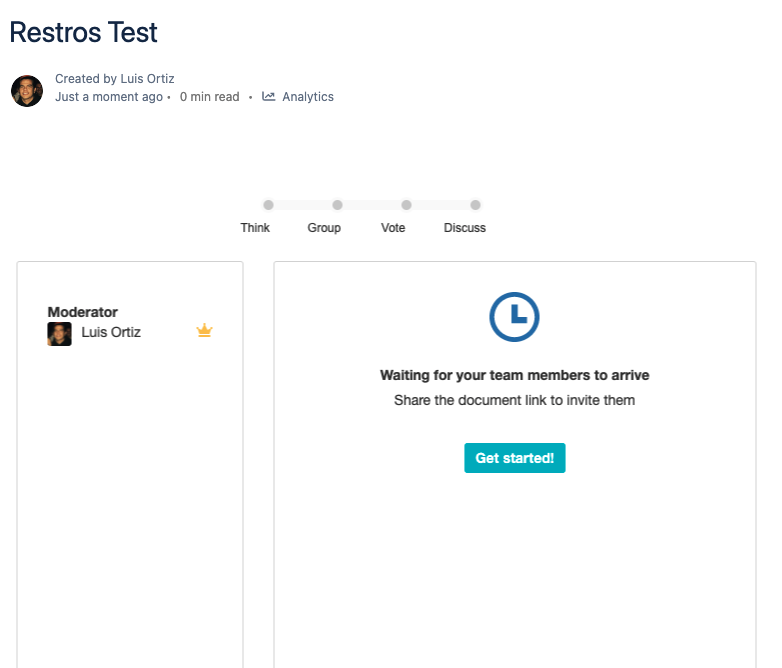
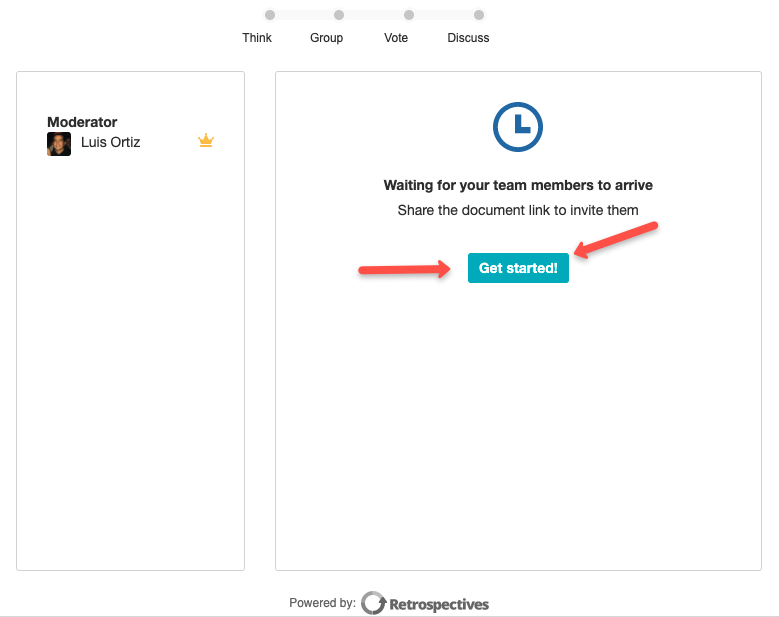
The Moderator is the first person to join the session, usually the one who inserted the macro.
After sending the link to the page to your team members, on the waiting screen you'll see the list of participants and see who's the Moderator for the session.

The Moderator is the only participant that can click on 'Get Started' to begin the session.

Transferring the Moderator role
Before starting the session, the Moderator can transfer his role to someone else by clicking on the star next to the person's name.


A modal will appear and upon confirming, the role will be transferred to the person.

Upon clicking "Save" the Moderator role will be transferred.

The Moderator role can also be transferred during the session by opening the "Who's ready?" menu and clicking on a participant's star.


A modal will appear and upon confirming, the role will be transferred to the person.


Upon clicking "Save" the Moderator role will be transferred.


I'm Ready & Next buttons
The I'm Ready button exists so participants can let the moderator know when they are "Done" on a step and ready to move on to the next one.


Upon clicking on it, your name will display a green checkmark on the "Who's ready?" menu.


This menu also lets you know how many team members are ready.

The checkmarks are just an indicator for the Moderator, but he has the power to move on to the next step whether everybody is ready or not.
To do so, the Moderator just needs to click on the "Next" button.
5. Think step
Once the Moderator starts the session, users are taken to the Think step.


Here, participants will simultaneously input their ideas on the different columns.

You will notice that other participants' ideas appear blurry. This is to avoid bias and groupthink, but don't worry, you'll be able to see these ideas on the next step.


Once everybody is ready, you can move on to the next step.
6. Group step
In this step, the objective is identifying all the ideas that are related or belong to a same theme, to group them together.
The ideas from all participants are shown and the Moderator can click on any of them or drag and drop one into the right container.


The Moderator must define a title for the group and save it by hitting 'enter'.


Once he saves the title, all participants will be able to see the group and add/delete ideas from it by dragging and dropping ideas or by clicking on the blue icons on cards.


When all related ideas have been added to the group, the Moderator must click on the 'Save' button.

The group will be displayed on the left container. Participants will be able to click on it to expand it and see the ideas inside.


Upon clicking on it, the Moderator will open it again for editing.
The Moderator can keep on creating groups as he deems necessary.


7. Vote step
Here, all topics will be displayed and participants will be able to vote for the most important ones, to prioritize the discussion.


On the top right corner you will be able to see the amount of votes you have available. If there's nothing there, it means you have unlimited votes.


Under each topic, you will see the number of times you can vote for it. If there's no indicator, this means you can vote unlimited times for a topic.


To vote, you just need to click on the upvote arrow on each topic.

Once you've voted for a topic, you can undo it by clicking on the downvote button.

When you've used all of your available votes, either as a whole or for a particular topic, the upvote arrow will appear disabled.


Note that you will only be able to see your own votes to avoid bias and groupthink.
8. Discuss step
Here, you will see all the topics ordered from the most voted to least. The purpose is to discuss the most important topics and create action items to improve.


To add an action item, anyone can just type and idea and hit 'enter'.


You can assign the action item to the team member responsible of executing it.


Once the team is done creating action items or a particular topic, the Moderator can move on to the next one by clicking on the "Next" button.

When the team has created all their action items, the Moderator must click on 'Done' to finish the session.

9. Summary of the retrospective
See the details of the session
When the session is over, you will see a summary of the retrospective.


Viewing the session's date
On the upper left corner you'll find the date when the retrospective took place.


Viewing the session's participants
You can click on 'Participants' to see which team members were part of the session.


See the action items generated
On the first tab of the Summary you will see all the action items generated.
Marking action items as completed
You will be able to assign and re-assign action items.


Marking action items as completed
To mark action items as "Done" you just need to click on the checkbox on each action item card.

Filtering action items
You can also filter action items by Resolved, Unresolved, and by assignee.


Converting action items into Jira issues
In order to create Jira issues from your action items, you'll need to install our Jira connector. You can see information on how to install the connector and use the feature here.
See the topics discussed
On the 'Summary Topics' tab, you can see all the ideas that were generated during the session.

You can click on any group to expand it and see the ideas inside it.

Related pages
| Filter by label (Content by label) | ||||||||||||||
|---|---|---|---|---|---|---|---|---|---|---|---|---|---|---|
|